You booked a glamping stay months ago, and now the packing list from the site reads something like “bring personal items.” That’s helpful if you like guessing, and useless if you don’t. Pack too much and you’ll haul a hard suitcase across a muddy field; pack too little and you’ll spend your first night shivering or hunting for a coffee that nobody supplied. A glamping trip sits in that awkward middle ground between camping and a hotel, so the checklist needs to cover both worlds.
This guide breaks everything down by situation. You’ll find a core checklist covering bedding questions, lighting and power, clothing layers for warm-season stays, and a separate list for colder April and October trips. There’s also a kitchen section, because most sites supply a stove but not the oil, spices or coffee gear that make it useful. Finally, you’ll see how booking timing and the type of site you choose should shape what goes in your bag, plus a few small comforts that make canvas walls feel a lot more like a boutique hotel.
What to Pack for a Glamping Trip: The Core Checklist
The biggest packing mistake at glamping sites is duplication. Many safari tents and yurts come with full bedding, towels and even a starter cookware set, but bell tents and cabins vary widely from site to site. Message the host 2-4 weeks before arrival and ask exactly what’s provided, down to whether there’s a kettle and how many towels per person. One short email can free up half your duffel, and it also tells you whether you need to pack extras like dish towels or a cutting board that hosts often assume you’ll bring.
Once you know what’s covered, focus on the things sites rarely supply well: light, power and a way to fix small failures. Tent and yurt floors are soft, uneven and often gravelly just outside the door, which is why wheeled luggage struggles. A soft duffel or a collapsible bag folds flat for the drive and carries easily over grass or gravel paths. Here’s what else belongs in the core kit:
- A headlamp per person plus one shared lantern. Hands-free light matters for late-night trips to the toilet block, and a lantern hung from a central beam lights the whole tent for card games and reading.
- A 10,000 mAh power bank with the right cables. Off-grid sites typically limit outlets to one per tent, so a full bank keeps phones, a camera and a headlamp charged for days.
- A small repair kit. Duct tape wrapped around a pencil, a handful of zip ties and a spare tent-pole splint handle the canvas tears, sagging guy lines and stuck zippers that canvas structures develop.
Clothing Layers for May to September Stays
Warm-season glamping sounds simple to pack for until you spend a July night at a mountain site with the temperature dipping below 10°C. The fix isn’t one bulky coat, which eats bag space and leaves you either boiling or cold. Instead, budget 20-30% of your bag for layers: merino base layers against the skin, a midweight fleece, and a windproof shell on top. Three thin pieces adapt to a 25°C afternoon and a 9°C evening far better than a single parka. Layers also earn their space on rest days, when you’re sitting outside reading rather than hiking and generating heat of your own.
Fabric choice matters as much as quantity. Cotton t-shirts and jeans soak up sweat and morning dew, then stay damp for a day or more inside a humid tent. Quick-dry synthetics and merino wash in a sink and hang dry overnight, which lets you pack fewer pieces overall. Dark colors also hide campfire smoke and trail dust better than pale ones, so you can re-wear items between washes. For a fuller breakdown, use this list:
- A beanie and warm socks, even in midsummer. Mountain and coastal sites lose heat fast after sunset, and cold feet are the most common reason campers sleep badly in July.
- Two footwear options. Broken-in trail shoes handle dry paths and hard ground, while waterproof boots cover wet grass, muddy tracks and dew-soaked morning walks to the shower block.
- A spare quick-dry shirt per person. One for wearing, one drying means you’re never pulling on a damp top after a lake swim or a sweaty hike.
Shoulder Season Packing: April and October Trips
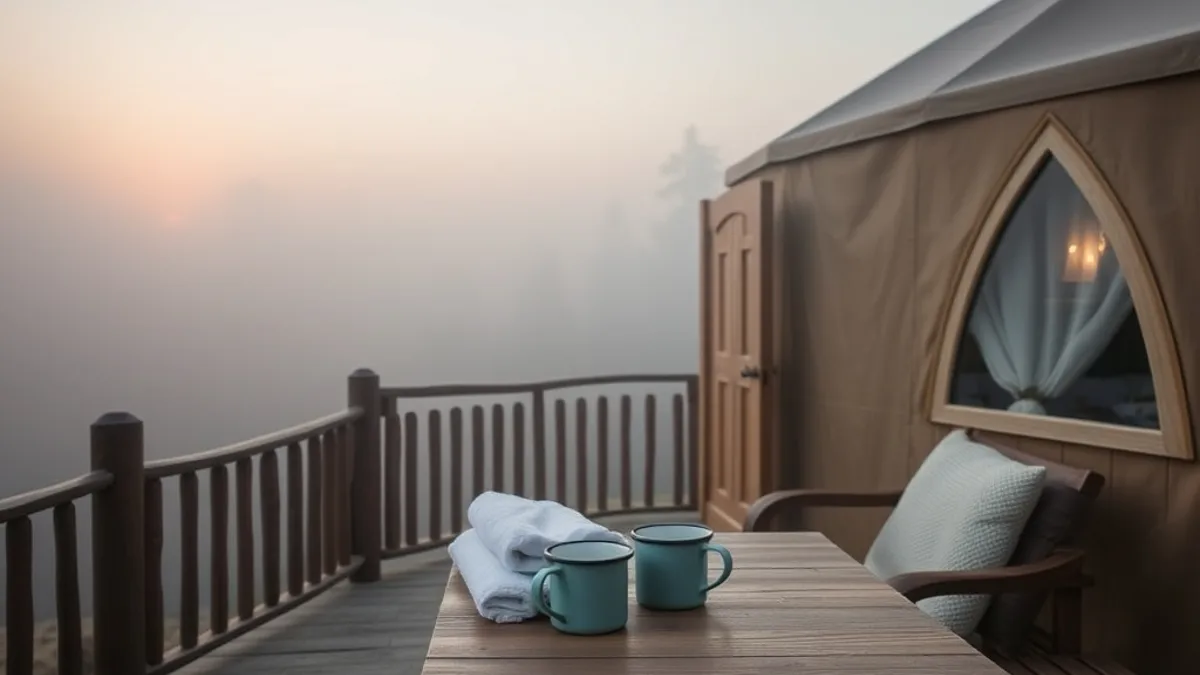
April and October trips reward good packing more than any other time of year, because the sites are quieter and cheaper but the conditions are genuinely tougher. Overnight temperatures typically run 10-15°C lower than in summer, so the thin blanket that comes with your provided bedding won’t cut it. A sleeping bag liner rated to around 5°C adds real warmth for a fraction of the bulk of a full bag, and it doubles as a hygiene layer on rented mattresses. Since you’re already packing merino base layers for the evenings, the liner simply stacks on top of that system rather than replacing it.
Shoulder season also brings some of the wettest spells of the glamping year, so waterproofing needs to be a system, not an afterthought. Think in terms of three barriers: a rain shell on your body, a pack cover on your bag, and dry bags inside for electronics and spare clothes. Check the weather forecast a few days before you leave and swap quantities accordingly, but never leave the wet-weather gear behind entirely. Evenings around the fire are the coldest hours of the day, which is where a few dedicated warmth pieces earn their space in your duffel:
- A packable insulated jacket and thermal leggings. Both compress to roughly the size of a water bottle, then come out when the sun drops and the fire needs another hour to get going.
- Slip-on camp shoes. Pulling on wet boots at 7 a.m. to walk to the toilet block is miserable; a pair of slip-ons left inside the tent makes that trip painless. They’re a third pair beyond your trail shoes and waterproof boots, so keep them lightweight.
- An extra dry bag for wet gear at the door. Keeping muddy boots and damp jackets sealed in one spot stops the inside of a bell tent from turning clammy by day two. Line it up near the entrance so everyone follows the same routine.
Kitchen and Food Gear That Sites Rarely Provide
The cooking setup is where glamping trips most often go wrong. Most sites do supply a stove or a fire pit, but the pantry side is usually bare: no spices, no cooking oil and no coffee gear. Decant salt, pepper, dried herbs and a small bottle of oil into travel-size containers rather than hauling full jars from your kitchen. A compact pour-over or a small French press plus pre-ground coffee turns a cold morning into a good one.
Even sites that advertise a “fully equipped” kitchen often fall short on dishes. Bring one enamel plate, bowl and mug per person, plus a sponge and biodegradable soap so you can wash up at the site. Enamel survives being stacked in a duffel and doubles as a serving dish in a pinch.
Rural glamping sites typically involve a 2-4 hour drive, and shops can be 30 minutes or more away once you arrive. A cooler packed with ice blocks rather than loose cubes keeps meat, cheese and milk safe for the whole drive and the first day or two. Plan meals so perishables get eaten early in the stay.
Water is the other thing to check before you go. If the site draws from a tank or a well, a refillable water bottle with a built-in filter gives you peace of mind without buying cases of bottled water.
- Spice kit: a handful of small screw-top jars covering salt, pepper, chili flakes and one all-purpose blend covers most camp cooking without taking up a shelf.
- Coffee setup: a pour-over cone with folded filters, or a single-cup French press, weighs little and works even if the site’s kettle is missing or slow.
- Ice blocks over ice cubes: reusable blocks melt slower, keep the cooler dry inside and can be refrozen if your accommodation has a freezer.
- Trash bags and a lidded container: rural sites often have limited waste pickup, so seal food scraps in a small container to avoid attracting animals overnight.
- Bottle-brush or small cloth: a sponge alone struggles with mug residue; a travel brush handles plates, pots and water bottles.
Booking Timing and Choosing a Site That Matches Your Packing
Good packing starts before you buy a single item, because what you bring depends on what the site already has. Timing matters too: book peak-season glamping, which runs May to September in most temperate regions, 3-6 months ahead to get your pick of units and prices. Shoulder season trips, in April and October, usually need only 4-8 weeks of lead time, and you can often find last-minute deals.
Once you have a shortlist, read the site’s provided-items list carefully before you pack a thing. Safari tents usually include full bedding, towels and often basic kitchenware, while bell tents may provide little more than an air mattress. Packing for the wrong tent type is the fastest way to end up with two sleeping bags or none.
Heating is the filter that changes everything for cooler months. If you are traveling in April or October, filter for sites with heating or a wood stove, and pack lighter as a result — a small heater in the tent means you can skip the heaviest sleepwear and extra blankets.
Finally, check whether the site is off-grid or has mains power. This single detail decides how much charging gear you carry, from a single cable to a full power-bank setup.
- Compare unit types on the same site: many sites mix safari tents, bell tents and cabins, so confirm the exact unit you are booking rather than assuming site-wide standards.
- Ask about stove fuel: some sites supply gas canisters or firewood, others expect you to bring your own — worth knowing before the drive.
- Check cancellation terms when booking early: a 3-6 month advance booking carries more weather risk, so flexible cancellation is worth a small premium.
- Map the nearest shop: knowing how far the closest grocery store is tells you whether to pack a full food box or just top-up supplies.
- Confirm check-in daylight hours: arriving at an unfamiliar rural site in the dark makes even a simple setup harder, so plan your drive around daylight.
Small Comforts That Make a Glamping Trip Feel Luxurious
The basics keep a glamping trip functional; a few small extras make it feel like a holiday. Many sites provide only one seating spot per tent, which gets cramped fast, so pack a compact camp chair or a lightweight hammock. You will use it every evening, and it means nobody has to perch on a cooler while the others relax.
Evenings are the whole point of glamping, so set yourself up for them. A soft throw blanket makes a fire-side hour comfortable once temperatures drop, and a book or downloaded films on a tablet covers the hours after dark. Mobile signal at rural sites can be patchy, so download everything before you leave home.
Sleep quality is where first-time glampers get caught out. Canvas walls carry sound remarkably well — a neighbor’s conversation at midnight sounds like it is in your tent — and dawn light arrives early through light-colored fabric. Earplugs and a sleep mask fix both problems for a few dollars.
Finally, think about insects before they think about you. Standing water near rural sites peaks in June and July, so citronella candles or a repellent belong in the bag from day one, not as an afterthought bought at a marked-up price.
- String lights or a small battery lamp: a warm light source inside the tent beats a phone flashlight and makes late-evening card games possible.
- A small travel game or deck of cards: screen-free evenings go better with something to do, and cards weigh almost nothing.
- Insulated mug: keeps coffee warm long enough to actually finish it outside, which a thin enamel mug rarely does.
- Quick-dry towel for the hammock or chair: dew settles on outdoor seating overnight, and a small towel dries it off in seconds each morning.
- A spare phone charger cable: cables fail more often than power banks, and there is no corner shop to buy a replacement at a rural site.
Pack Once, Glamp Right
A vague packing list doesn’t have to mean an overstuffed car or a cold first night. The fix comes down to three steps: confirm what the site provides 2-4 weeks before arrival, layer your clothing for May-September or April-October conditions, and cover the kitchen, light and comfort basics most sites leave out. Do that, and you’ll have everything you need without doubling up on bedding or cookware that’s already waiting in your tent.
With this checklist, a soft duffel and a 10,000 mAh power bank, you’re ready for any glamping trip without overpacking. Pack once, glamp right. If this helped you sort your bag, leave a comment or share the article with a fellow traveler.