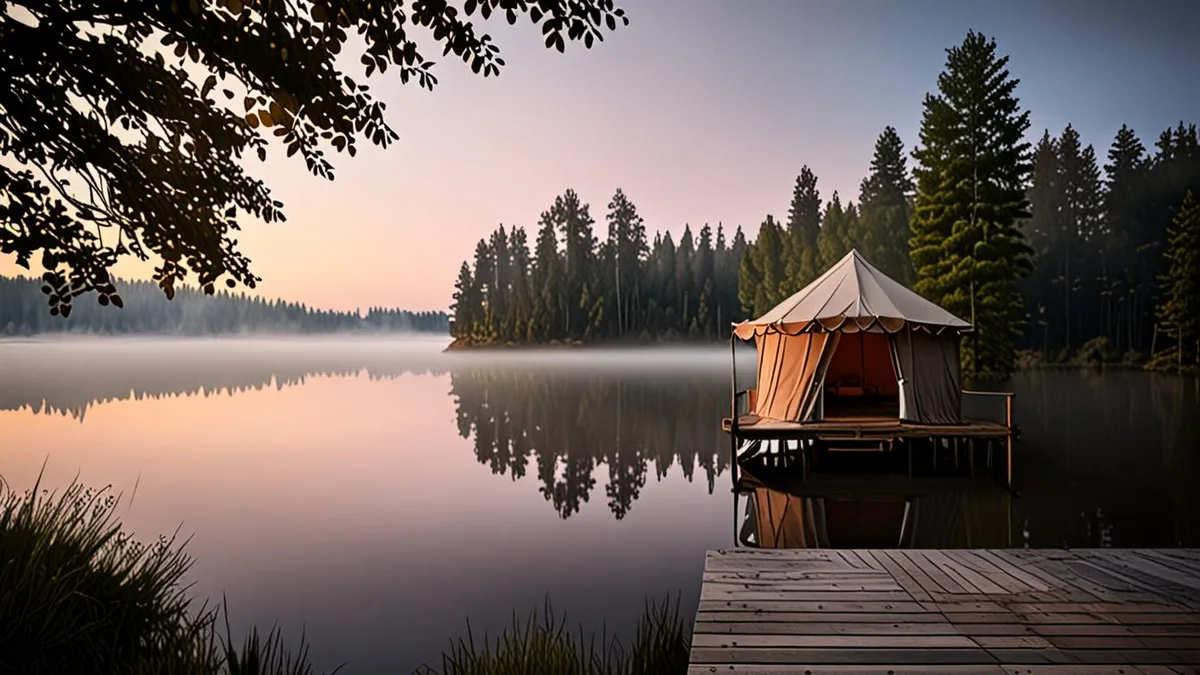
Glamping photos look dreamy online: a canvas tent glowing at sunset, a hot tub on a wooden deck, mountains in the distance. But choosing the wrong site can turn that luxury escape into an overpriced tent next to a busy road, an hour from the nearest decent meal. Knowing how to choose a glamping site before you book is what separates a memorable trip from an expensive disappointment.
This guide walks through the decisions that matter most: why your priorities should come first, how to judge location and road access, when to book for the best rates, what a realistic budget looks like, which amenities actually affect your comfort, and how to vet reviews and cancellation terms. A final checklist pulls it all together so you can book with confidence.
Why Choosing the Right Glamping Site Matters
The gap between a $120 tent and a $400 dome is rarely about comfort alone. You are often paying for location, privacy and amenities — a private deck, an ensuite bathroom, a hot tub under the stars. Two listings can look nearly identical in photos yet offer completely different experiences once you arrive.
A poorly chosen site can mean a two-hour drive to find a restaurant, or a sleepless night listening to traffic on a nearby highway. Those are the kinds of problems no amount of stylish furniture can fix. The setting is the product in glamping, and it deserves as much scrutiny as the tent itself.
Know your priorities before you search
The most effective way to avoid overpaying is to decide what you actually need before browsing listings. If you plan to spend every day hiking, a site with a full kitchen and a big-screen projector is money spent on features you will not use. If you are celebrating an anniversary, a shared bathroom half a field away can undercut the whole experience.
Write down your top three must-haves — maybe seclusion, a private bathroom and a fire pit — and your dealbreakers. Then filter listings against that short list instead of falling for pretty photos. Clear priorities keep the search fast, honest and much easier on your wallet.
Location and Accessibility: How Far Is Too Far?
The first big decision is how remote you want to be, and it shapes your entire trip. Some travelers want true seclusion — a site an hour or more from the nearest town, where the loudest sound is the wind in the trees. Others want convenience, with shops and restaurants under 30 minutes away so they can pop out for groceries, dinner or a forgotten phone charger. Neither option is better; they are simply different trips. The right choice depends on how much driving you want to do each day and whether you would rather cook at camp or eat out.
Once you have picked your comfort level, look at what is actually nearby — trailheads, lakes, wineries, viewpoints — and match it to your planned activities. A site surrounded by vineyards is wasted on a trip built around fishing, and a lakeside tent far from any trailhead will frustrate avid hikers. Make a short list of the two or three things your trip is really about, then choose a location that puts them within easy reach.
Check the practical details
- Road access: Many glamping sites sit at the end of unpaved gravel roads, which can be difficult for low-clearance cars, especially after rain. Ask the host about the road condition and whether a specific vehicle type is recommended.
- Exact location: Read the exact address or coordinates before booking, not just the marketing description. “Near a national park” can mean 45 minutes from the entrance gate.
- Map check: Drop the coordinates into a map app and look at the surroundings yourself. Satellite view often reveals a busy road, a neighboring property or a lack of the seclusion the photos implied.
- Day-trip logistics: Estimate real driving times to the places on your itinerary at the hour you would actually travel, since rural routes and park traffic can stretch distances considerably.
Ten minutes of location research before booking is the cheapest insurance you can buy for a glamping trip. It costs nothing, takes less time than packing the car and prevents the most common disappointment: arriving somewhere that looks nothing like the listing promised.
Timing Your Trip: Seasons and Booking Windows
Timing shapes both the price and the experience of a glamping trip. Peak season runs from June through August, bringing the best weather but also the highest rates and the tightest availability. The most sought-after sites — those with hot tubs, private decks or standout views — can be booked solid weeks before summer even starts.
Why shoulder season works in your favor
The shoulder months of May and September offer milder prices, fewer crowds and still-reliable weather in many regions. You get the same tent, the same view and often the same host attention for less money, and campgrounds feel calmer. If your schedule allows any flexibility, shifting your dates by a few weeks is the single easiest way to save.
How far ahead to book
For summer dates, book three to six months ahead, especially if you have your heart set on a specific site or a holiday weekend. For shoulder-season trips, four to eight weeks is usually enough, though popular destinations can still fill earlier. Last-minute deals do exist, but relying on one is a gamble when you are traveling with others or on fixed dates.
Also check minimum stay requirements before you commit. Two- to three-night minimums are common on weekends and holidays at most popular sites, which affects both your schedule and your total cost. If you can only get away for one night, look at weekday availability or ask the host directly — some will make exceptions outside peak periods.
Setting a Realistic Glamping Budget
Glamping prices vary more than most first-timers expect, and the difference usually comes down to two things: bathroom access and the level of luxury in the tent itself. Knowing where you fall on that spectrum before you start searching will save you from sticker shock and from paying for extras you will never use.
At the entry level, budget glamping tents typically run $80-150 per night. These are usually canvas tents on platforms with real beds and decent bedding, but you should expect shared bathroom facilities and a communal cooking or dining setup. It is a big step up from a sleeping bag, but it is not a hotel room.
On the high end, luxury domes and safari tents cost $200-500+ per night. At this tier you generally get a private ensuite bathroom, proper heating, stylish furnishings and often extras like a hot tub or a deck with a view. The premium buys privacy and comfort, not just a prettier tent.
Whatever tier you choose, the nightly rate is rarely the whole story. Extras can quietly add 20-30% to your total, so read the price breakdown before you commit. Common add-ons include:
- Cleaning fees — a flat charge per stay that hits one-night bookings hardest, sometimes rivaling the room rate itself
- Pet fees — charged per animal, per night or per stay at sites that allow dogs at all
- Firewood and ice — often sold on-site at a markup, so bringing your own can pay for a nice dinner
- On-site activities — kayak rentals, guided walks or pizza-oven nights that sound charming but add up fast for a family
Finally, sanity-check the price against nearby hotels. If a standard chain room in town costs less than the tent, glamping should justify its premium with the setting — a private lakefront, a canyon view, real stargazing. If the location is ordinary, you may be paying for the vibe alone.
Amenities and Comfort Levels Explained
Amenities are where glamping listings get vague, and where disappointments happen. Two sites can both call themselves “luxury camping” while offering completely different levels of comfort, so dig into the details before you book.
Start with the bathroom, because this is the single biggest comfort divide in glamping. A private ensuite bathroom means you can wander out at midnight in a robe; a shared bathhouse might be a several-minute walk down a gravel path, flashlight in hand. Neither is wrong, but the difference shapes the whole experience, and it explains much of the price gap between budget and high-end sites.
Heating and cooling matter more in a tent than in a hotel. A wood stove transforms cold nights, while fans or air conditioning make summer heat bearable — canvas heats up quickly in direct sun. Check what climate control is actually provided, not just what the region is like.
Food is the next decision. Some travelers are happy with a fire pit and a short drive to restaurants in town; others want a kitchenette to cook breakfast without leaving the site. Be honest about how you like to travel, and remember that a full kitchen is usually reserved for the top amenity tier.
Connectivity is the wildcard. Wi-Fi and cell signal vary wildly from site to site, and “Wi-Fi available” can mean a strong signal at the main lodge and nothing at your tent. If you plan to work, stream or simply stay in touch, verify coverage before you arrive. Useful questions to ask the host:
- Is the Wi-Fi signal strong at the individual tent, or only in a shared area?
- Which cell carriers get reliable service on the property, if any?
- Is the wood stove the sole heat source, or is there backup heating for when it burns down overnight?
- Is hot water available at all hours, or only during certain times in shared bathhouses?
A short message to the host with these questions takes five minutes and can be the difference between a great trip and a frustrating one.
Vetting Reviews, Photos and Cancellation Terms
Photos and reviews are your best defense against a listing that looks better online than in person. Glamping is a young, fast-growing market, and quality varies enormously between hosts, so a little vetting goes a long way.
Reading reviews like a detective
Prioritize listings with 20+ reviews over brand-new listings with two glowing ones, and pay attention to recent guest photos, not just the polished host marketing shots. Guest photos show the tent in real weather, real light and real mud — which is exactly what you need to see.
Then scan the reviews for patterns rather than one-off gripes. A single complaint about insects might be bad luck; five reviews mentioning the same issue is a trend. Recurring complaints worth watching for include noise from nearby roads or other guests, insect problems inside the tent, cleanliness issues and — very common — misleading distances, where “near a national park” turns out to mean a long drive. If several reviewers mention a detail the listing omits, believe them.
Cancellation terms before you pay
Finally, read the cancellation policy before entering your card details, not after. Cancellation windows typically range from 7 to 30 days before arrival, and they vary by host and platform. For peak-season trips, where rates are high and rebooking is hard, a strict policy can cost you the full amount if plans change. If your dates are uncertain, favor a more flexible policy or consider travel insurance, and screenshot the terms at the time of booking so there is no confusion later.
Final Checklist Before You Book
Glamping photos look dreamy online, but the difference between a memorable escape and an overpriced tent in a bad location comes down to the choices you make before booking. By now you have weighed location, season, budget, amenities and reviews against your own priorities, which is exactly what separates a well-chosen site from an impulse booking you regret.
Two habits do most of the heavy lifting. Booking 3-6 months ahead for summer dates, or 4-8 weeks ahead for shoulder season, secures the best rates and the widest choice of units. And a quick review of road access, the bathroom setup and the cancellation terms prevents most glamping disappointments before they happen. Do those checks, and the reality should match the photos. If this guide helped you plan a trip, leave a comment or share it with a fellow traveler.